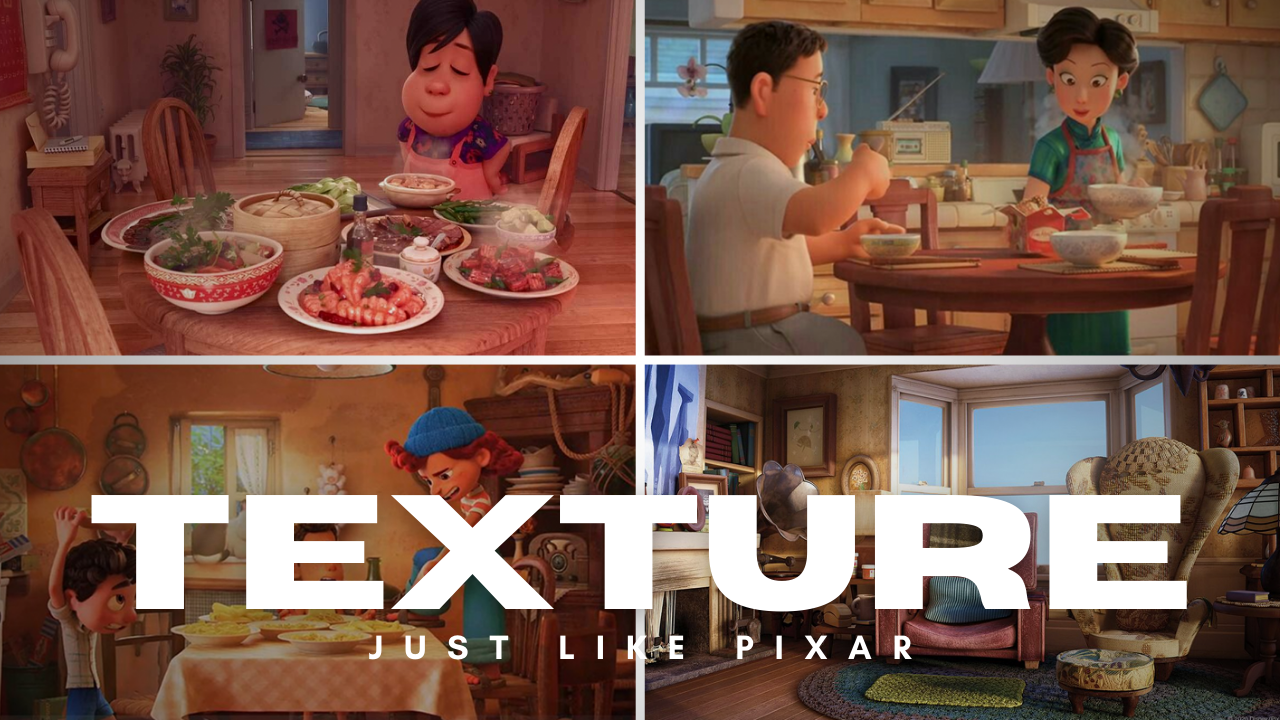
How to texture like Pixar
Introduction
I love Pixar and all of their movies. My daughter and I have watched Soul probably 10 times this week and we've seen all the classics.
When I was a professional 3D artist, I always tried to research the tools they used. That’s why I came across this video years ago. I hated it back then and it's been living rent free in my head ever since.
This has absolutely nothing to do with Pixar and their techniques. Just pure clickbait that acts as a complete beginners guide to PBR textures.
Pixar is fairly open with their process and I have amassed quite the collection of resources/techniques that I can share with you.
Disclaimer
I have never worked at Pixar. I can’t with 100% certainty say this is the current workflow of the studio. While I can’t guarantee this, I can say that all of the information shared is based on resources from Pixar employees or behind the scenes videos they have released.
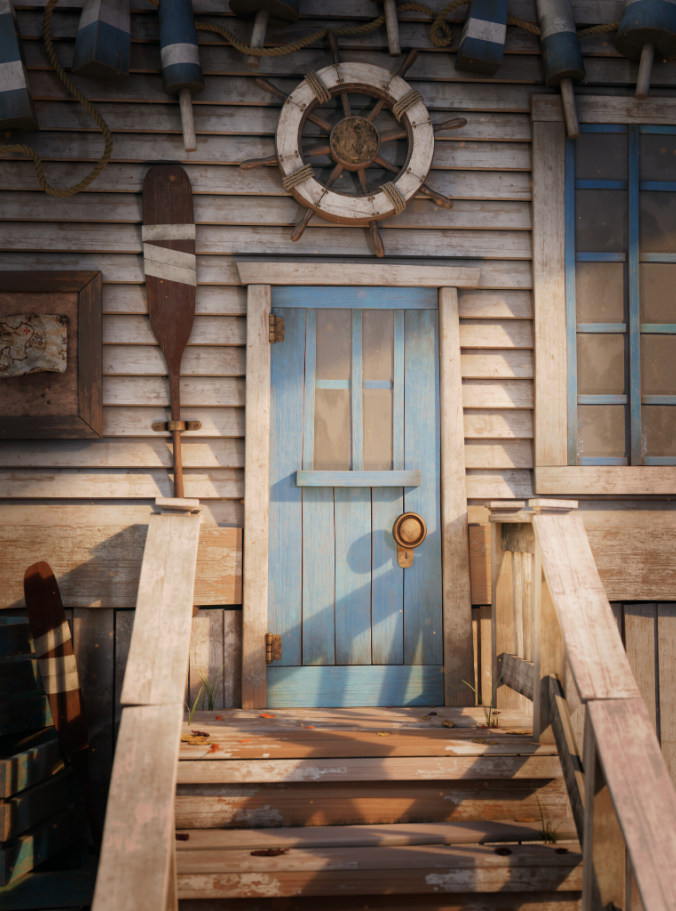
These techniques are software agnostic and can be applied to any project.
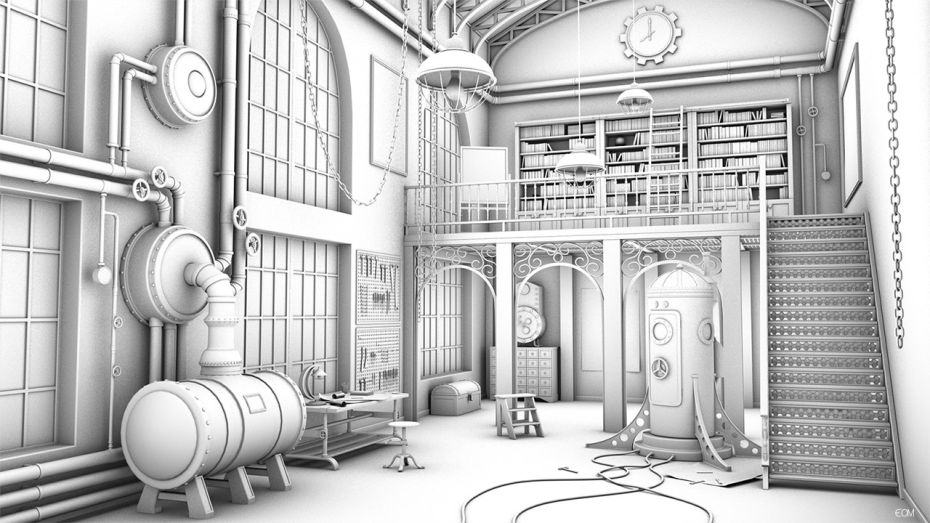
For instance I used many of them here to create this Old Fishing Hut Scene 100% in Blender
Modeling
Pixar relies heavily on procedural shading (More on this later). This requires that the models contain a lot of geometry based details to provide information for the shaders to use.
What do I mean by this? Look at some examples of behind the scenes footage from their films.
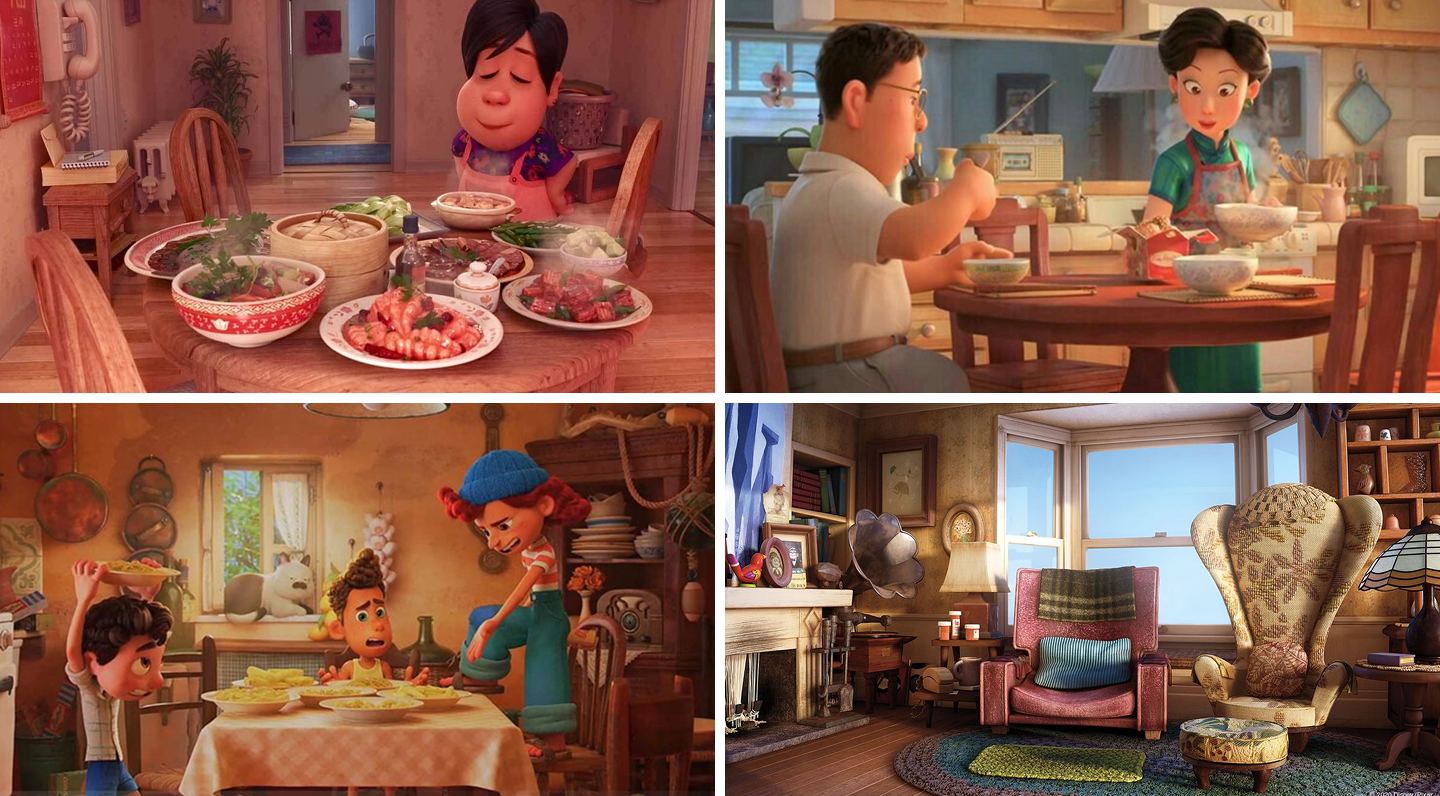
They actually modeled each tile in this Turning Red bathroom set.
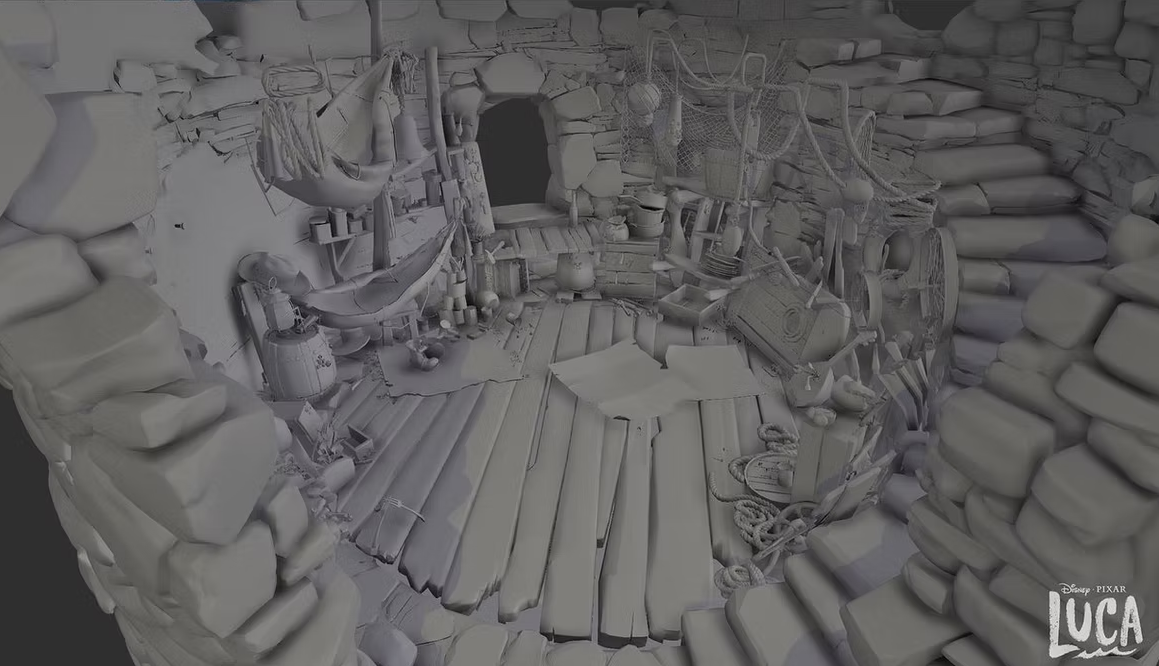
Or check out this behind the scenes look at Luca. Individual cobblestones, cracks, edge details, etc are real pieces of geometry instead of a displacement or bump texture.
Not to say that Pixar is against using bump or displacement maps. Those are also frequently used but many components that build up objects are modeled as separate pieces.
Gaston Ugarte is a modeling artist at Pixar and a glance at his portfolio includes examples of how detailed their production models are. https://www.tucumanian.com/general-clean
Why Geometry-Driven vs Texture-Driven?
Pixar has thousands of objects that populate their films. It just isn't practical to manually UV Unwrap every object and apply custom texture maps for things like bolts, cracks, etc. This means shaders are made to utilize data from the models to look a certain way.
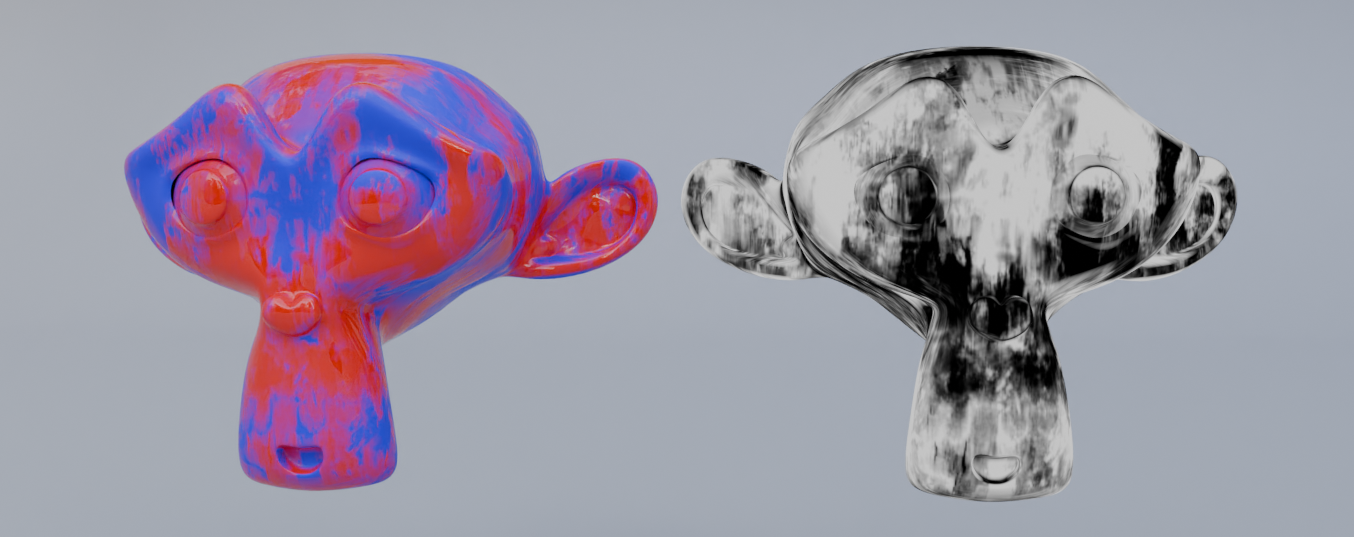
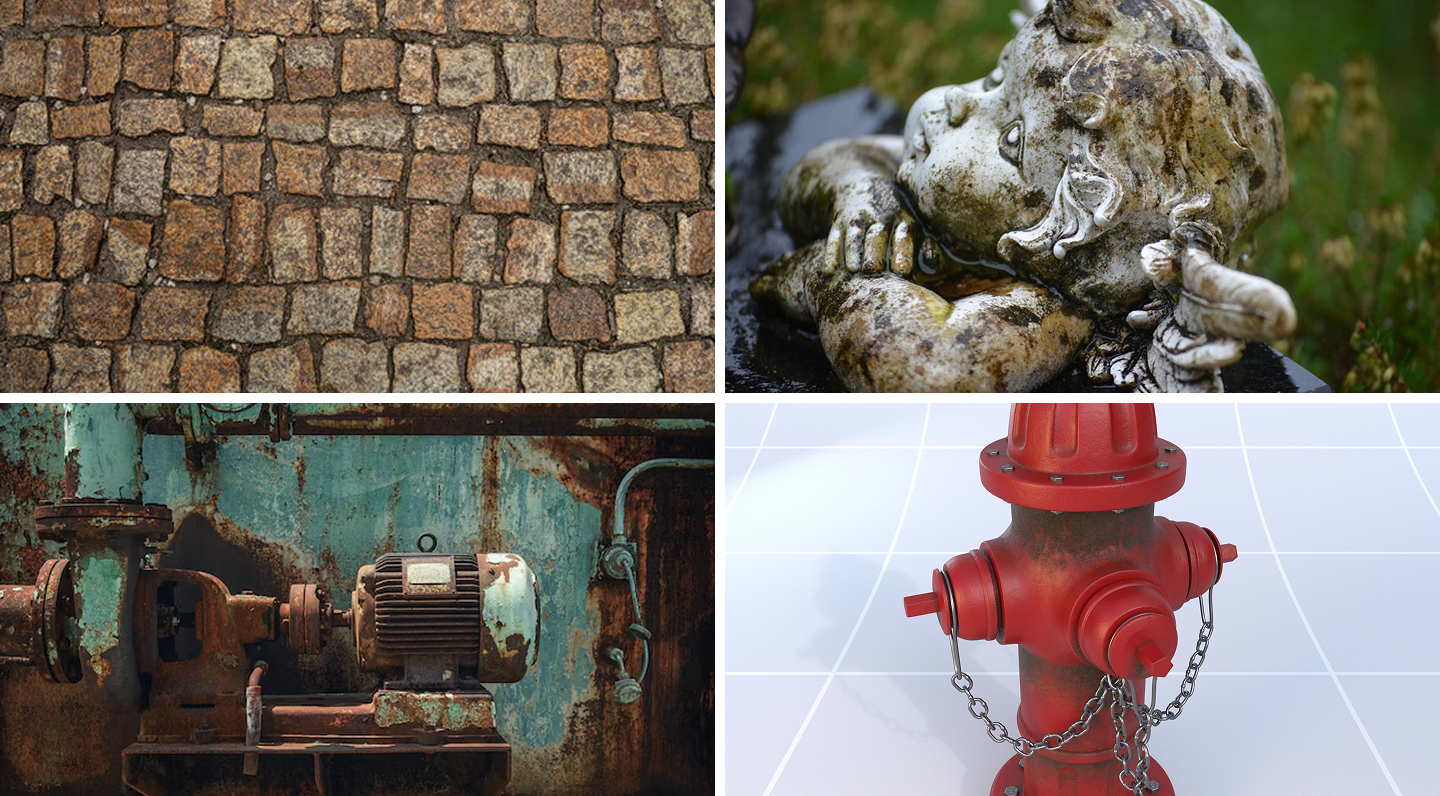
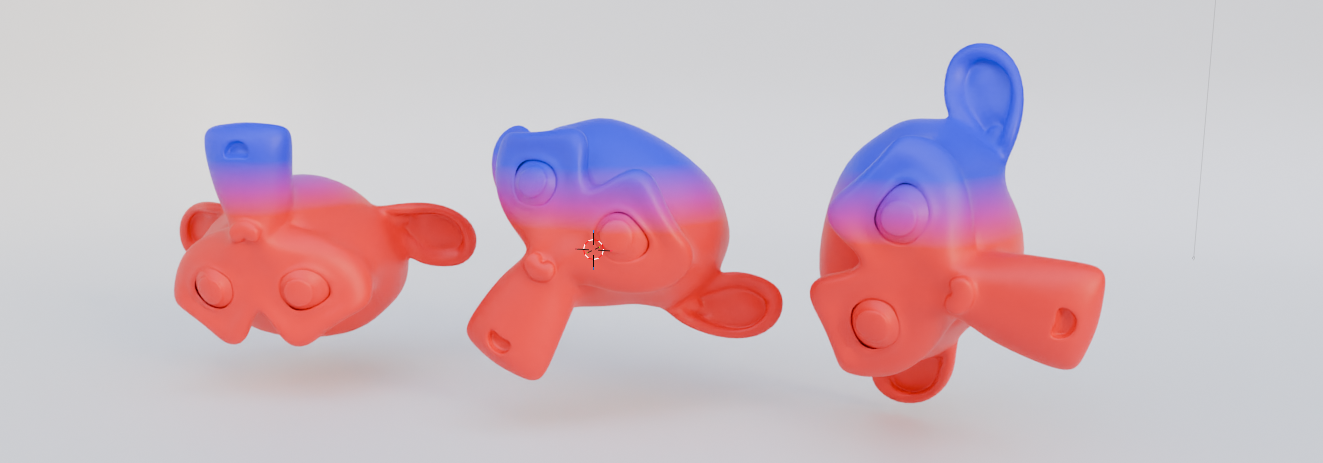
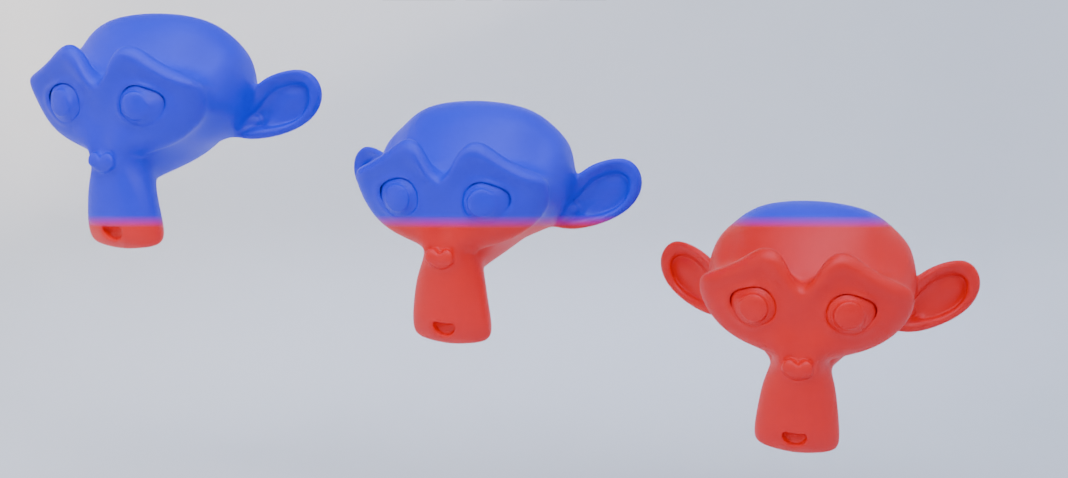
Down below I have an example of two objects with the same material applied.
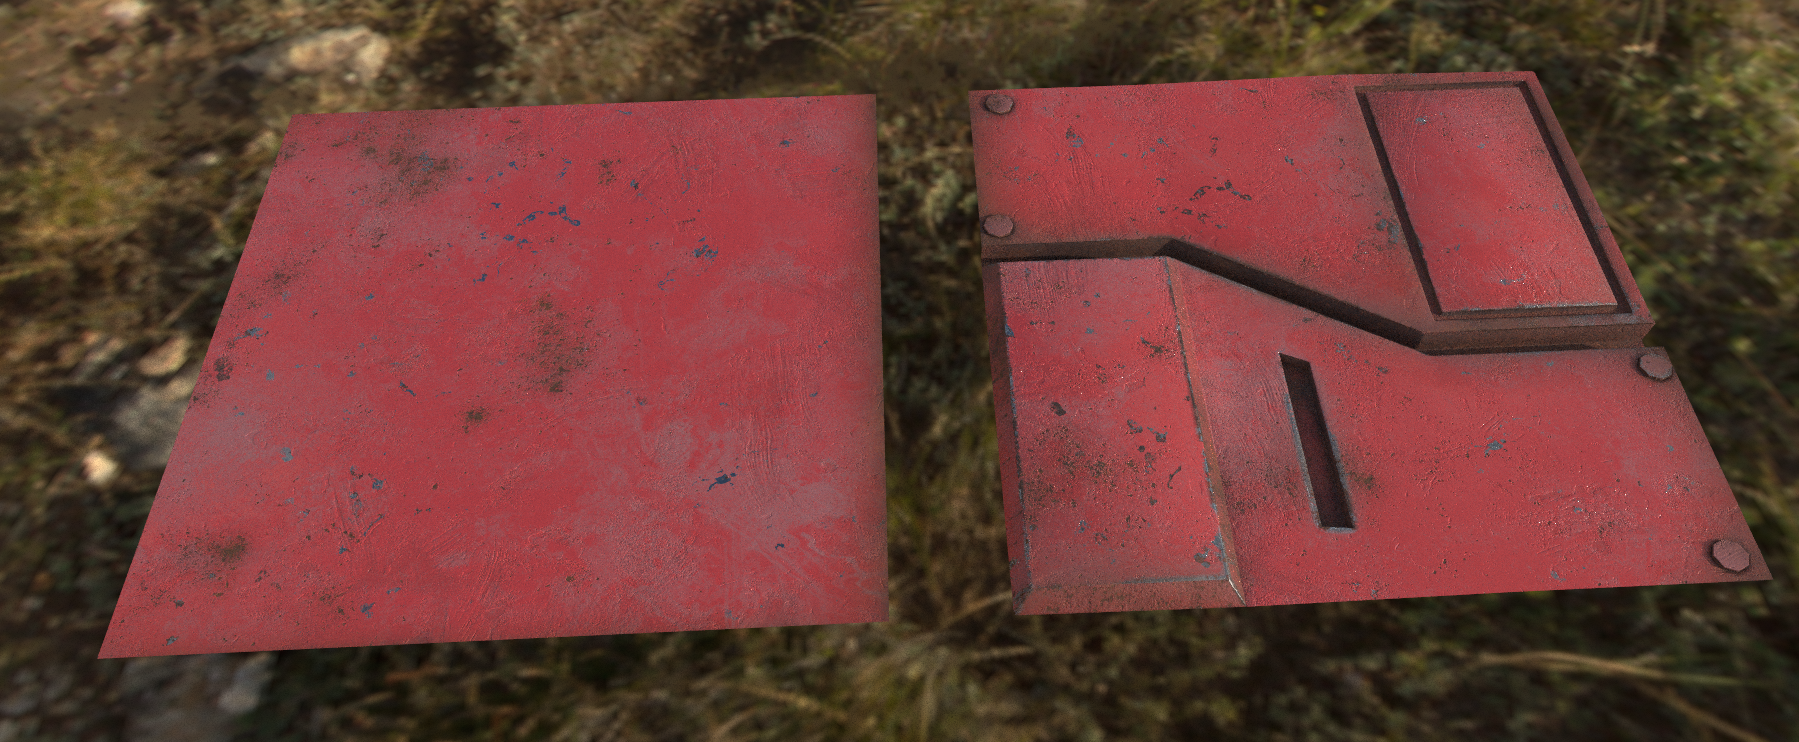
While the objects share the exact same material, you can see that the right side has additional details in the model that the procedural shader can use. Elements like scratches on the edges or the rust in the crevices rely on this extra information.
Gathering Reference for Pixar Inspired Modeling
I’ve found that the best reference for Pixar style scenes are miniatures. Pixar tends to use photorealistic materials with stylized proportions and bevels.
Look at these examples of miniature sets and see how they compare to Pixar scenes.

Here are some screenshots from various Pixar films. You can see how similar the style really is.
Materials react to light in a photoreal manner but patterns like wood grains are very large, edges are much softer than real world counterparts and items aren’t aligned perfectly to one another.
Why does this matter?
The size of the bevels, object alignment, amount of details in the model and scale of patterns such as wood grain all feed into the procedural materials and contribute to the final look of an object.
Every part of the pipeline contributes to the render and must be accounted for if you are trying to emulate a certain look.
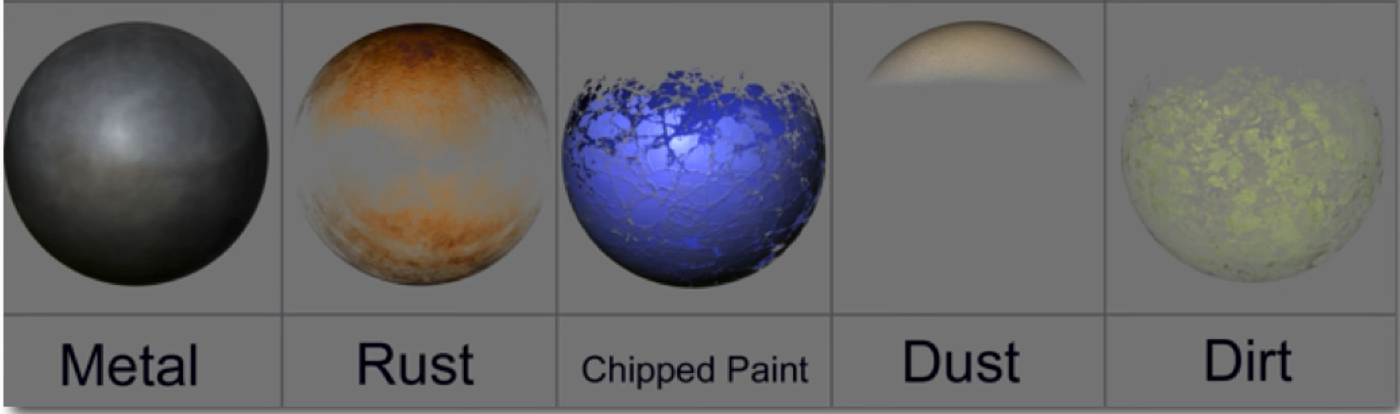
Using Layered Materials
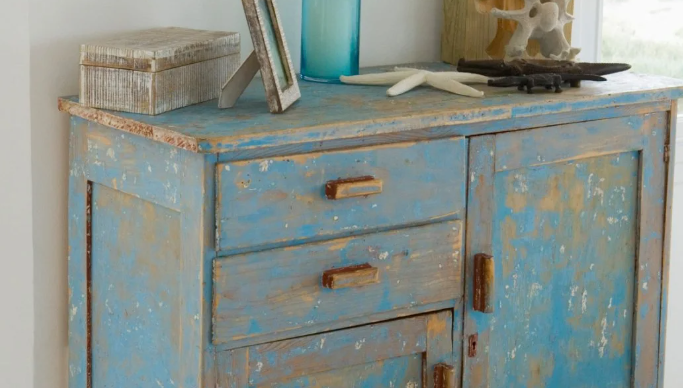
Objects in the real world are complex. Its overall look is often made up by more than one material.
A base metal is covered with a red paint. The red paint is covered with rust, dirt, and dust. As 3D artists we can capture this several ways. Pixar (and many other studios) use a layered shader approach to build up these looks in their materials.
Here is an image of a free material from CC0 Textures
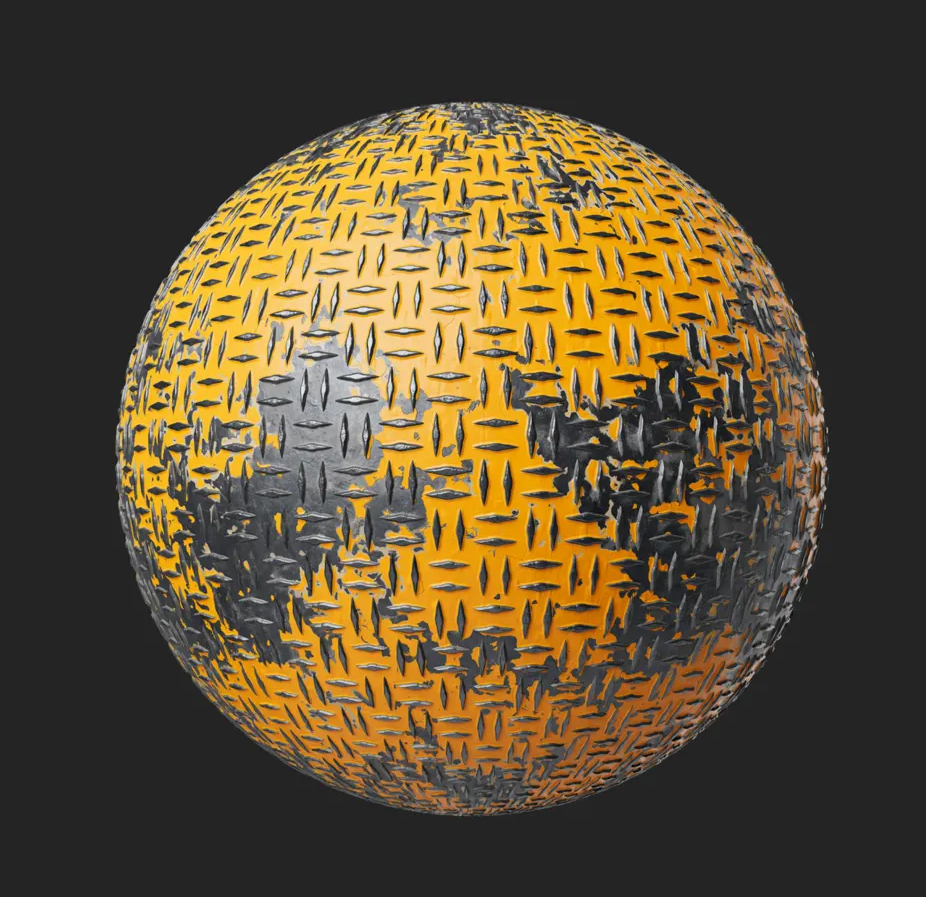
This material is a collection of image files that are meant to be plugged directly into a shader node.
This looks great and is easy to just plug into your single shader but it isn't very flexible. What if we want to change the flaking pattern? Or maybe we want red paint instead yellow? Or maybe we want the metal to be brass instead of steal?
Instead of just making a single shader, make one for each type of material and blend between them using masks.
This provides a good mental model of how we can build our shaders up. We can save each of these layers as separate materials and use them on many objects throughout our project (or other projects).
This approach is very scalable. For instance, we can swap out the metal/rust layer for wood and voila, we have painted wood instead of metal.
Pixar loves this workflow so much that they made a dedicated shader for it!
Here is a tutorial on how to do this in Blender:
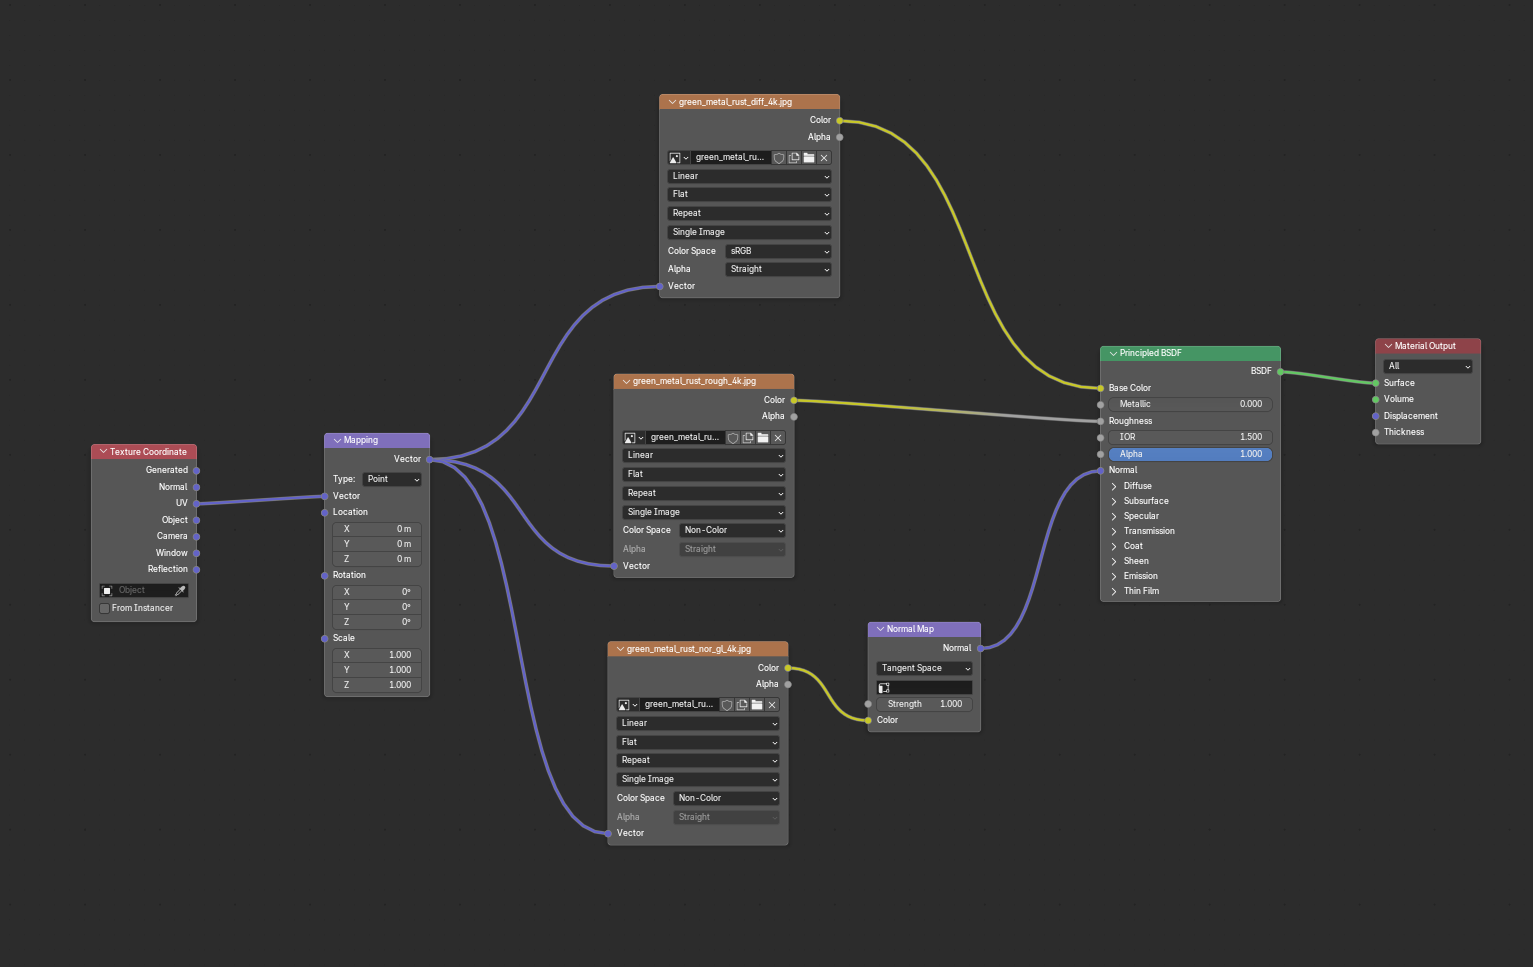
Procedural Textures
This is the meat and potatoes of this whole write-up and what the original video didn’t even touch. Proceduralism. Watch the below video and see how Pixar uses their internal texturing program Flow, to build up reusable shader networks in their films.
Instead of manually unwrapping and texturing every prop, just make a reusable material that can be applied to any object. This comes in especially handy in very large scenes with many props/objects. Unwrapping a single model isn’t too bad, but unwrapping hundreds or thousands is just too much to handle.
If you are unfamiliar with UV Unwrapping here is a good explanation
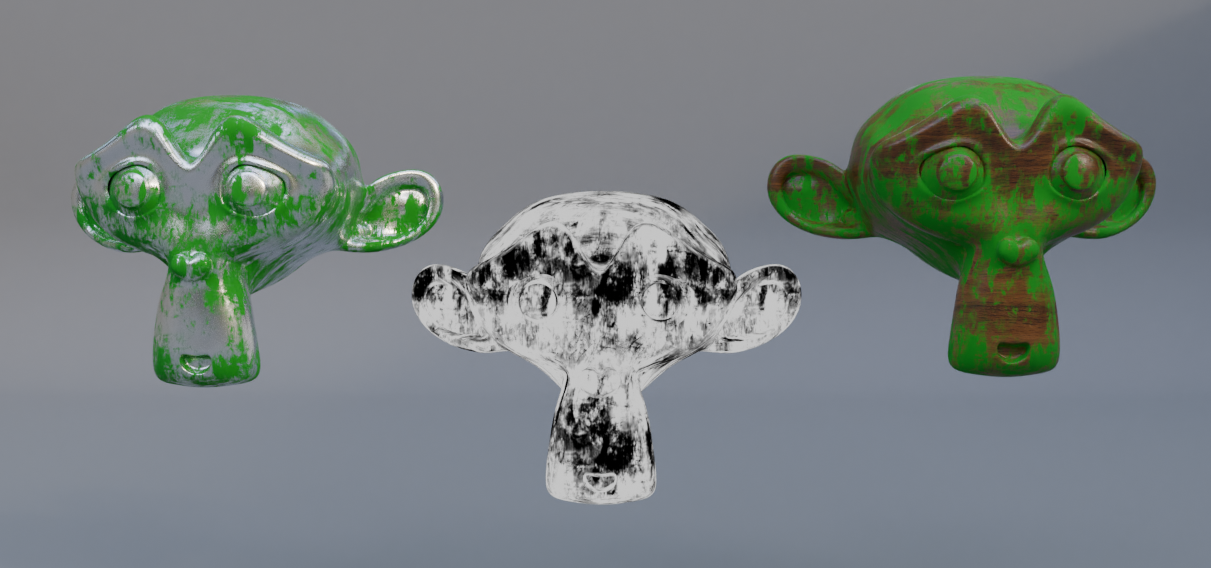
These procedural materials use geometry based inputs to add details such as dirt, dust, edge damages etc. Here is the example from earlier to illustrate this concept again:
And here is a great video by Pixar Technical Artist Paul Kanyuk describing how pixar uses this technique.
To summarize Paul’s breakdown, there are several categories of geometry driven details you can apply to scenes
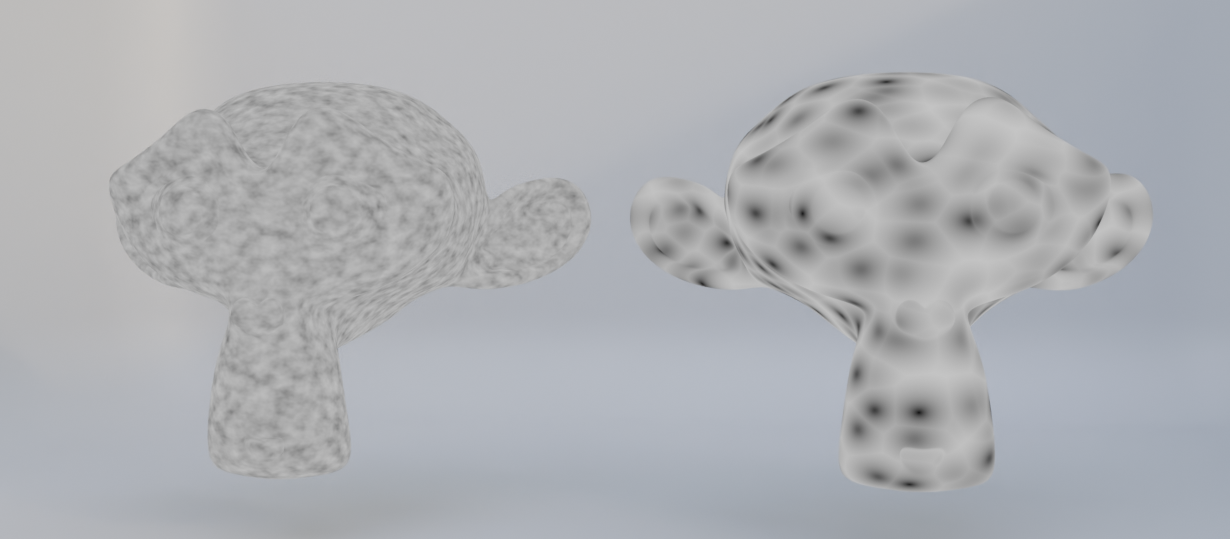
AO
Ambient Occlusion (AO) is a rendering technique that simulates contact and corner shadows: areas that receive less ambient light are darkened.
What is this useful for? Dirt of course! We can use ambient occlusion as a mask to place dirt or rust where is would naturally occur in real life.
Curvature
We can use curvature to isolate the outside edges of our objects and emulate edge wear or damage, effects like peeling back paint where the edges rubbed off or adding scratches to corners of wood where they would naturally occur in the real world.
Here is a guide on targeting the edges in blender:
Upward Facing
Add things like dust or snow to the tops of your objects automatically. This is especially helpful when set dressing.
In a traditional workflow, you cannot rotate an object around after these types of details have been painted because the textures are "baked in".
Through proceduralism, you're free to rotate move and scale freely while the snow/dirt/moss updates in realtime.
Here is the node graph I used for the example above

World Position
Apply dirt or moss to the bottom of objects based on it’s location in the world.
Projection Mapping
If they don’t use UV Maps, how do they apply patterns to their objects?
Project them! This is typically referred to as “Triplanar Mapping” and it is essentially projecting a texture from all axes (XYZ) around your object and blending between them.
This removes the need for UV Maps.
Procedural Noise Patterns
There are limitations when using image maps for texture projection. Resolution for one. You are limited by the size of your texture. Applying a 512x512 texture to a giant wall will be a blurry mess of pixels.
You could tile it but repetition becomes very obvious and that’s assuming the texture is tileable in the first place.
Another solution is procedural noise. These are patterns that are generated by math. They are tileable by default and have no intrinsic resolution so they can be added to any object of any scale.
Putting it all together
Here is a good video on how you can use all of the maps mentioned above to make a real shader
Using a Material Library
According to their “Technical Toy Story” talk. The general workflow at Pixar is as follows.
- Determine a list of materials based on the script
- Shading artists create reusable materials and save them to a library
- Modeling artists apply these pre-made shaders to objects in the scene
- Further refinement is done based on the needs of the particular shot
Pixar loves this so much that it’s built into Renderman. The preset browser allows you to create material libraries and reuse them across projects.
Blender also leans into this concept with the asset library features that go beyond just materials.
The best part about this approach is that you can reuse these materials across multiple projects or even download third party material libraries like the ones below:
https://renderman.pixar.com/fun-da-mental-materials
Conclusion
I hope that this was informative and gave you some practical tips to building better art in a more efficient manner.
Thanks for reading!