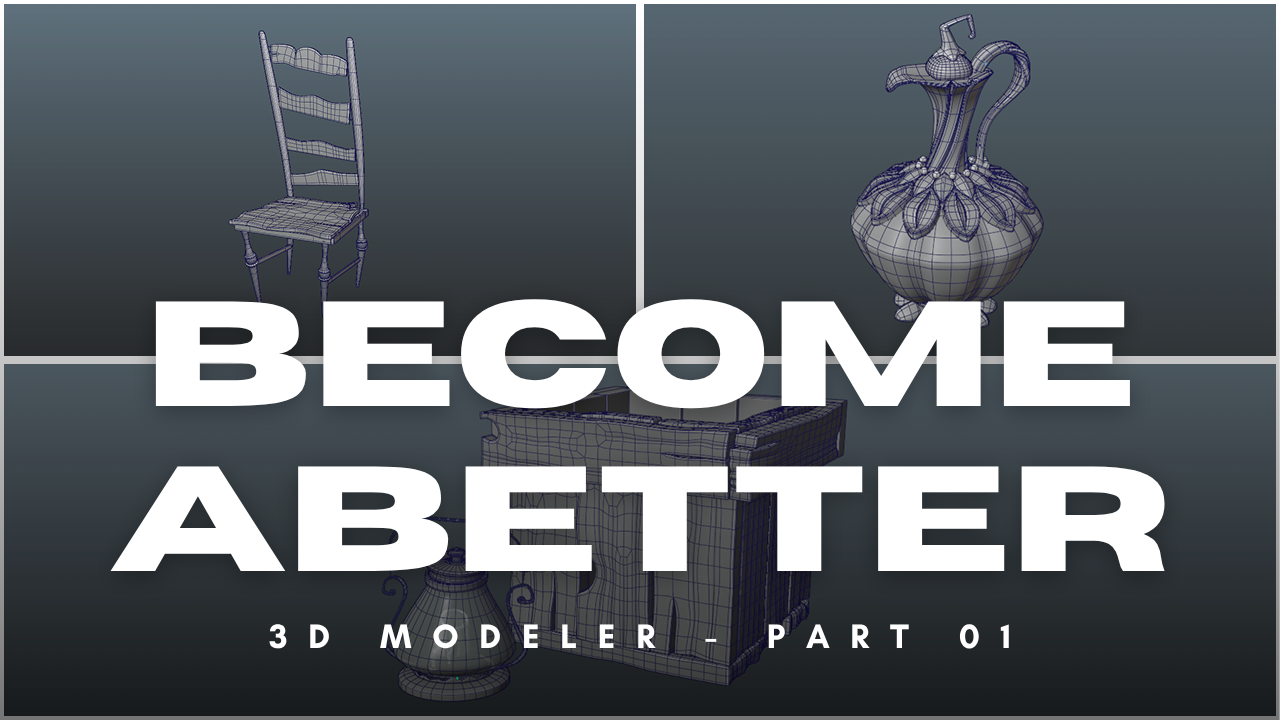
Becoming a Better 3D Modeler - Part 01
Introduction
I'm a pretty mediocre 3D modeler. I understand the basics and make some decent-looking scenes, but the majority of the heavy lifting is done through lighting and texturing, while the models remain very basic.
I find that I struggle with visualizing proper form/proportions and rely too much on orthographic reference. I always shy away from more organic or complex shapes.
So I set up a little challenge to myself. 12 weeks, 12 models. Here's how I break down the process. I’ve stayed faithful to this and make sure I give myself 30-60 minutes a day before work for this.
The Gameplan
How do you get better at making models? By modeling of course!
The only caveat is that the models need to follow a structure and have some ground rules. Creating random models without any clear goals isn't helpful.
Monday: Reference & Topology Planning (No software)
- Gather 3–5 references, pick one primary and pin the rest for detail later
- Draw a rough topology map. Where do the major loops need to run? Where are the poles going to live?
- Goal: Walk into Tuesday knowing exactly what you're building and why
Tuesday: Primary Blockout (Big forms only)
Proportions and masses. Nothing else.
- Block the entire form in primitive shapes only. Boxes, cylinders, spheres etc
- Work flat shaded, no wireframe, so you're reading silhouette and mass, not topology
- Step back every 15 minutes and check proportions against your reference at a matching camera angle
- Do not add a single edge loop that isn't structural mass
- Goal: Correct proportions and major form relationships locked in. Ugly is fine.
Wednesday: Topology Pass
Turn the blockout into real geometry with intention.
- Retopo or rebuild from your blockout with your Monday plan as the guide
- Focus on loop flow serving the form. Think about how the surface wants to deform or read
- Resolve your poles and star points deliberately, not accidentally
- Goal: Clean, intentional topology that you could defend every edge of.
Thursday: Form Refinement & Surface Detail
Push the form, add the first layer of surface interest.
- Subdivision or sculpt pass — let the topology breathe and check it holds up
- Add primary surface detail only: plank edges on wood, major mortar lines on brick, main wrinkles on leather
- No texturing, no tiny detail, if you can't see it at arm's length from the screen, it doesn't exist today
- Spend the last 10 minutes doing a topology audit. Find your problem areas, fix the worst one
- Goal: A model that reads correctly at mid-distance
Friday: Polish, Critique & Notes
Final surface detail pass. Secondary and tertiary forms only.
- Does the topology serve the silhouette?
- Written critique:
- What did your eye get wrong on Tuesday vs the reference?
- Where did your topology fight you instead of help you?
- What's the one thing to carry into next week?
- Goal: Finished piece + one concrete lesson extracted in writing
The Rules
- Only one perspective image is allowed in the viewport and NO ORTHOGRAPHICS
- Form and proportions come first
- Quad only and subdivision friendly topology
Phase 01 - Hard Surface Props
This is typically reserved for things like robots and mechanical pieces but for my definition I meant things like woods/ceramics.
I wanted to get out of my comfort zone and pick more stylized or cartoony concept art.
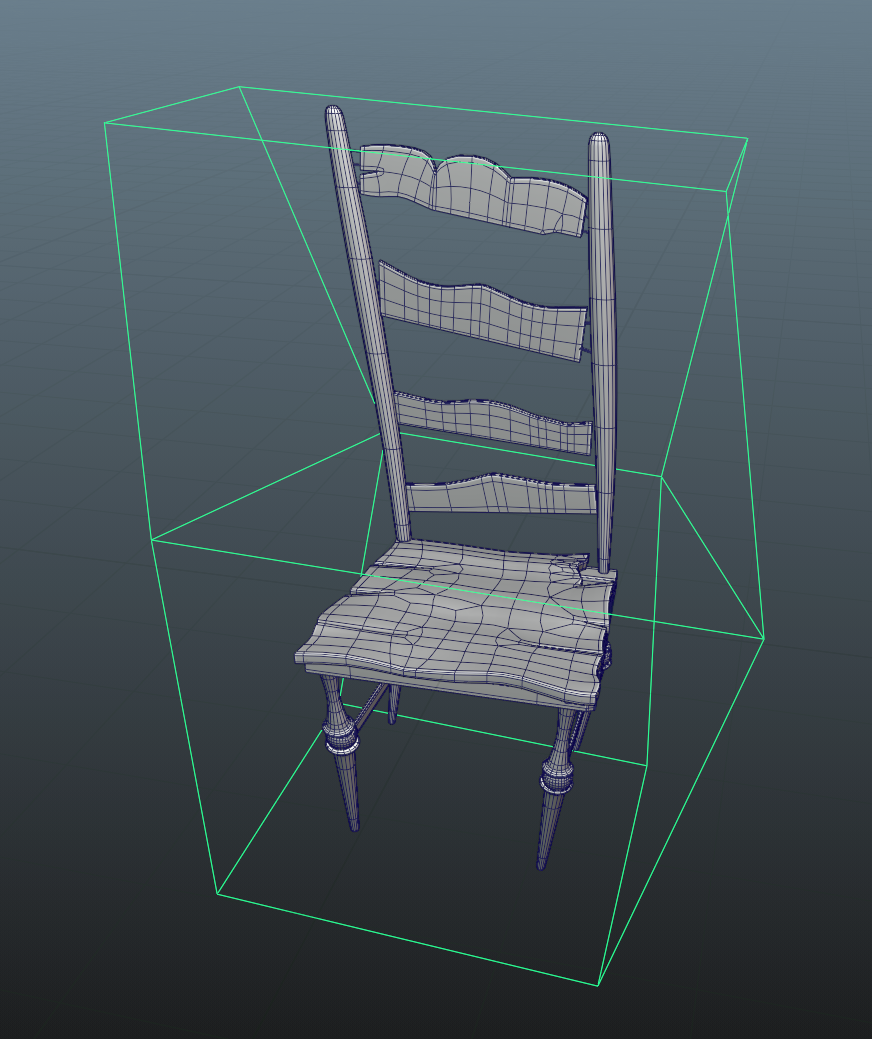
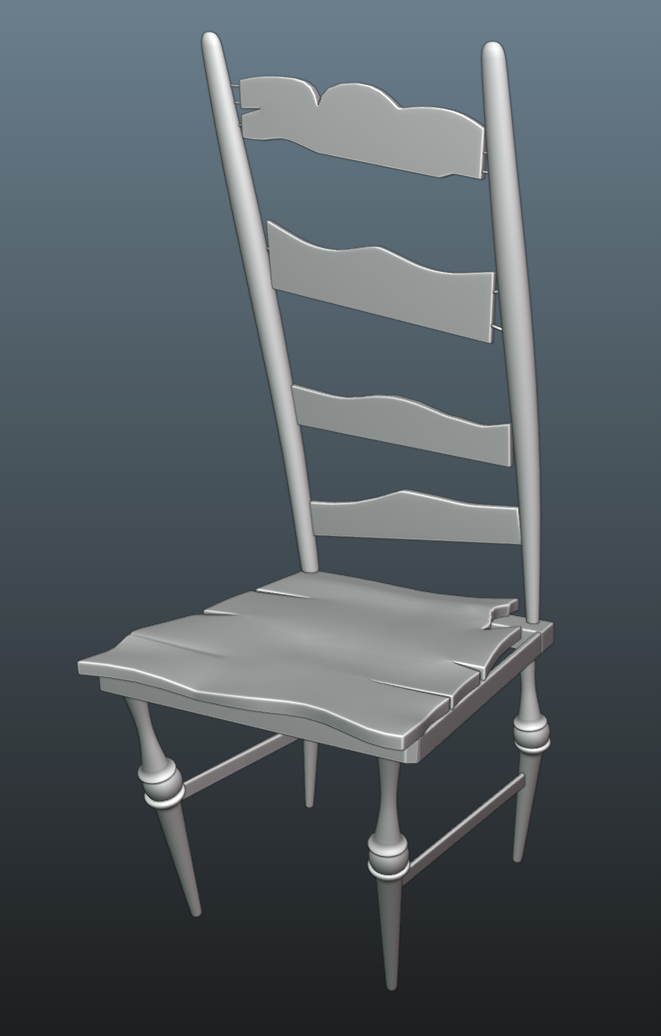
Chair
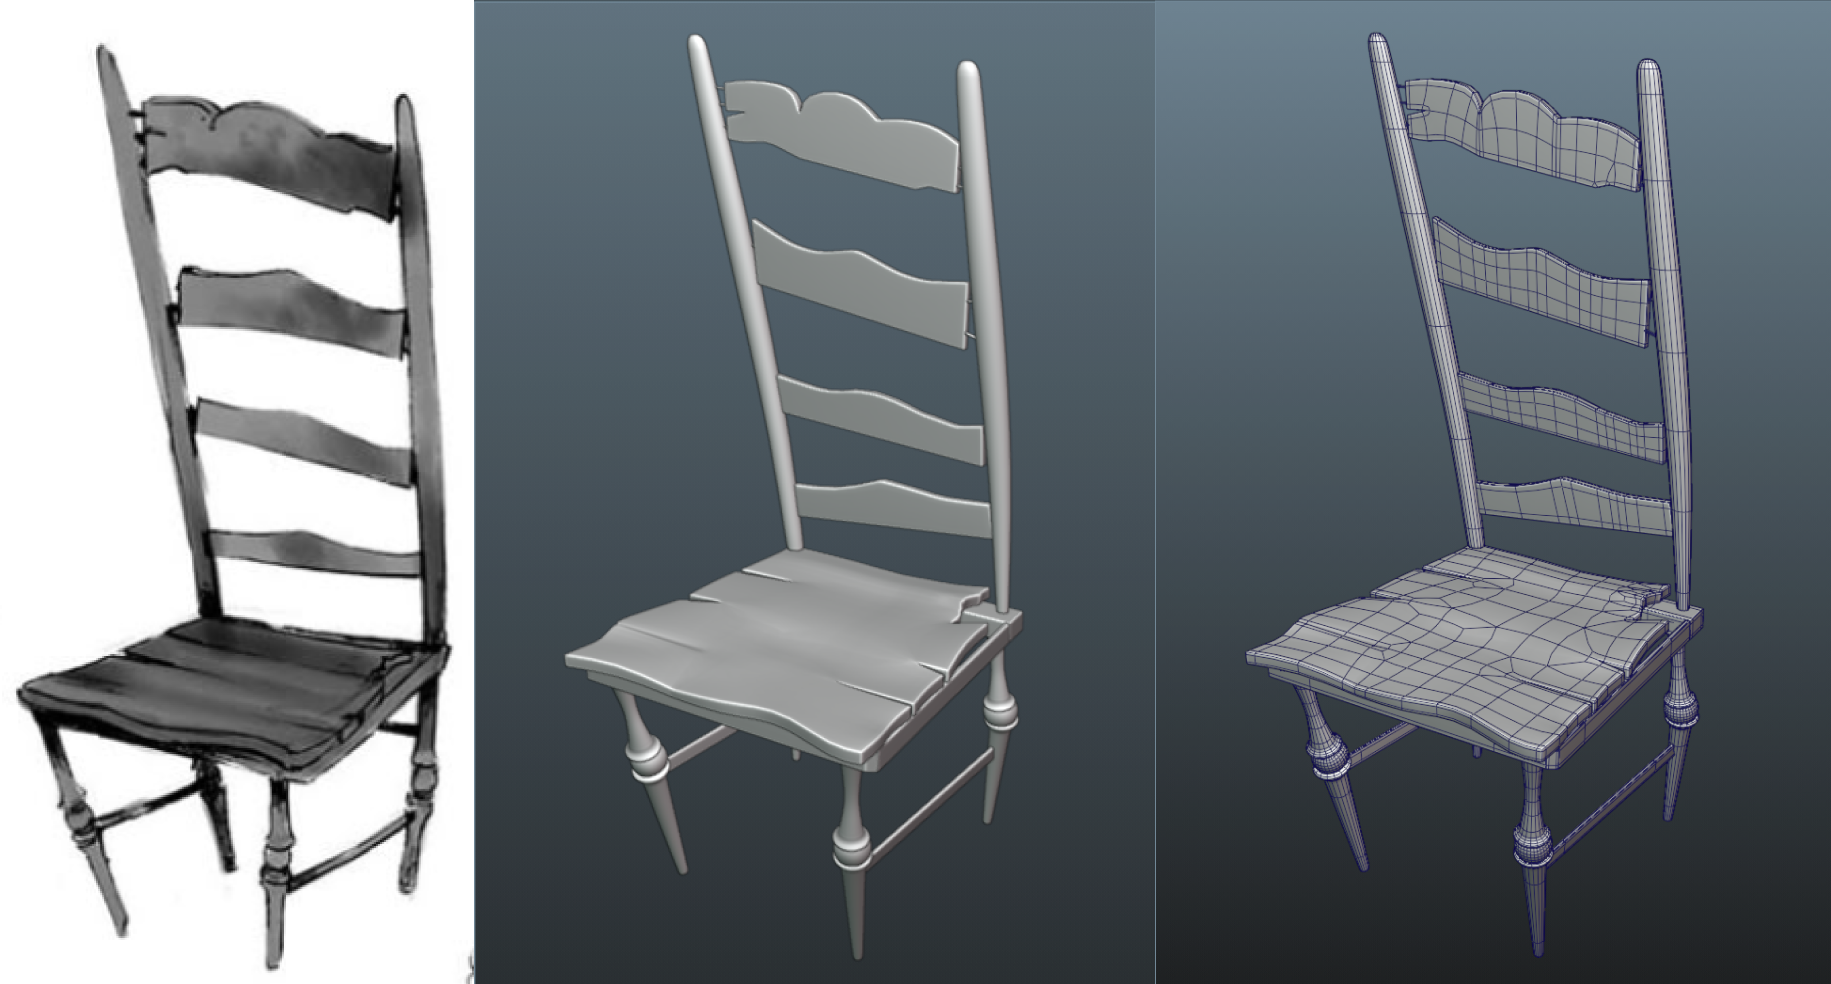
A chair that would fit with a Halloween-themed cartoon special. No straight lines, everything is "bendy".
A first for me in Blender was using a lattice to take the initial chair shape and alter the silhouette globally.
I'm quite proud at how I was able to convey that the chair is made of wood without any texture work.
Vase
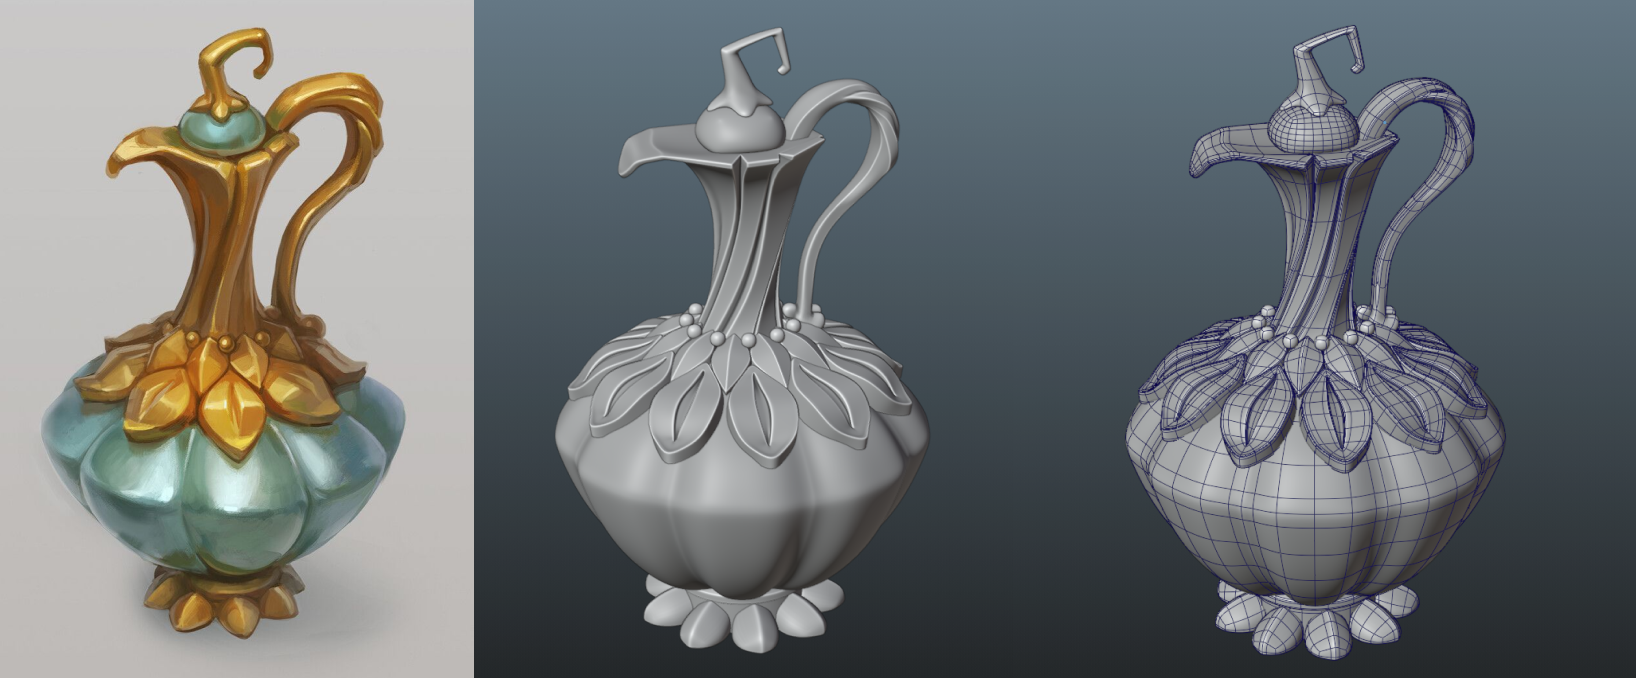
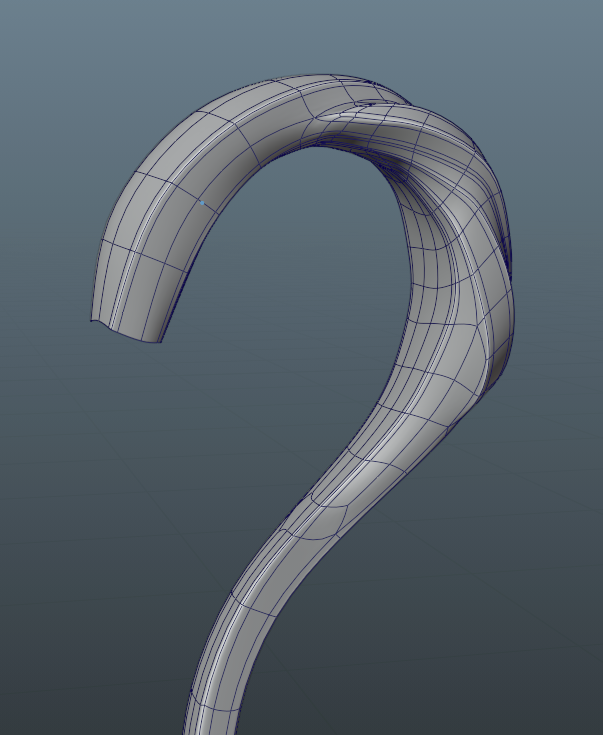
This was probably the most difficult for me. I've never really worked on a prop this stylized before, and some of the flowing shapes in the handle took a lot of trial and error.
Many places on this model go from hard edge to soft, so the topology was tricky to map out.
Two unique techniques I tried for this were sculpting and retopology. The handle went through an initial sculpt pass to get the overlapping shapes that almost fold on top of each other.
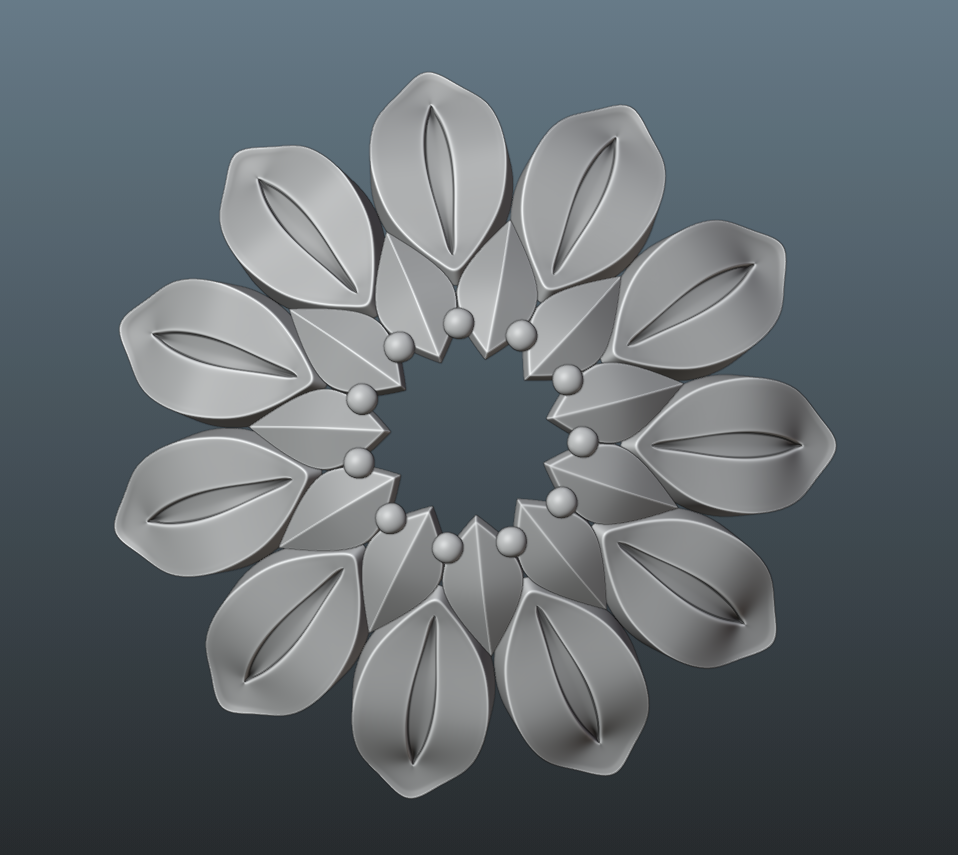
One benefit of this design was that quite a few elements could be repeated. I used a circular array to accomplish this.
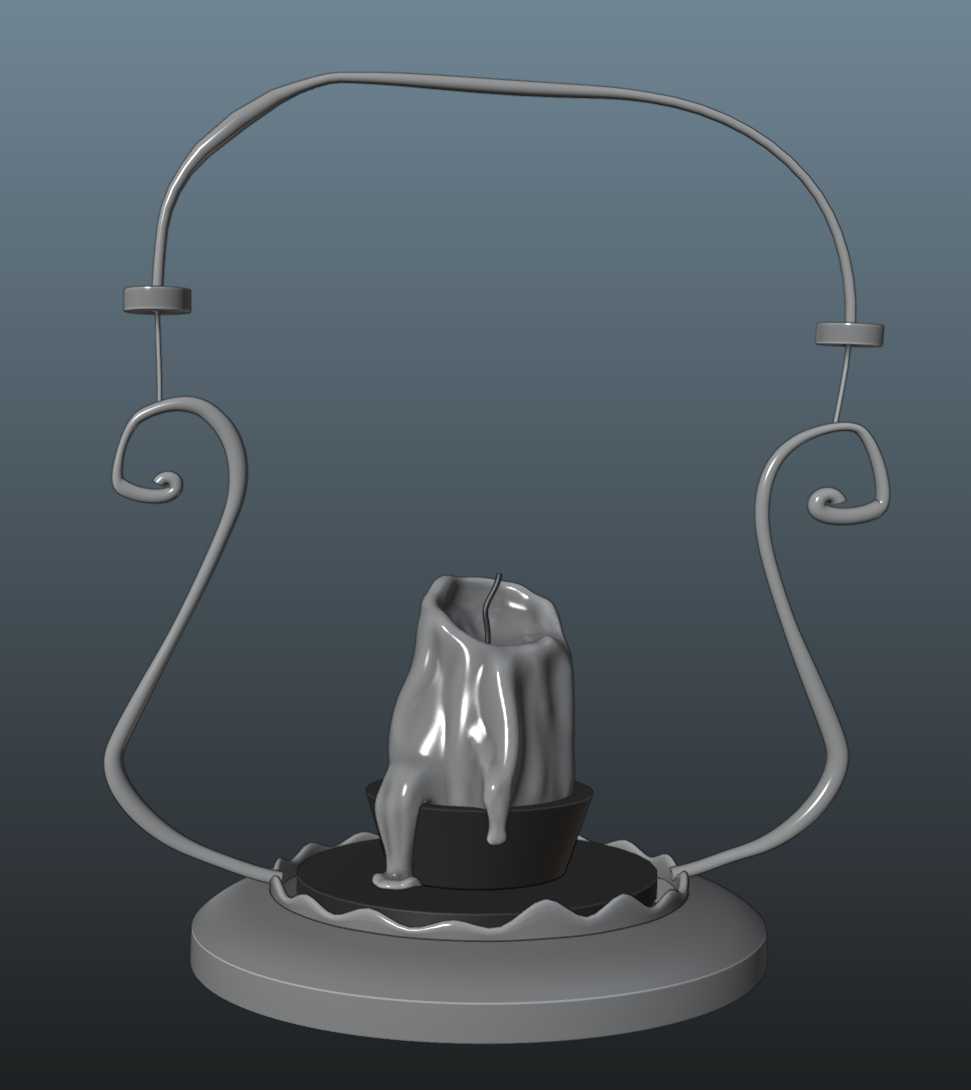
Crate and Lamp

This model was the most fun for me as I think it leans the most into my natural sensibilities, but the goal of this week was to work with the scale of multiple objects in a single scene.
The holes in the crate were made through a simple boolean shape cutout. This example was about as simple as it comes but the boolean -> SubD workflow can be very powerful.
I also applied sculpting to the melting candle mesh. Building up a toolset as this challenge continues.
Closing
What could have been better
There are PLENTY of examples of the models not matching the reference. The vase is probably the weakest of the group in this regard.
What's Next
Next are more organic props. This will push me even further out of my comfort zone, but I think it is the phase I will grow the most! Here are the projects:
- Mushroom Cluster
- Leather Bag
- Gnarled Root